Homeowners are often confused by the variation of estimates they receive from tile contractors who are bidding on the exact same job. These differences reflect the different installation methods, as tile setters charge according to how long they think it will take to do a job.
Understanding the basics about tile purchasing, design, and installation can help consumers compare estimates to get the best return for the time and money spent.
The three methods for installing tile are as follows:
Mortar and Wire Reinforcement
Using a mortar and wire base requires the most steps and is therefore the most time-consuming and costly method, but it is an excellent way to assure a solid, level installation on both horizontal and vertical surfaces.
- First, begin by protecting the cabinets with plastic, place tar paper on the decks as a moisture barrier, staple wire over the paper, then install cap strip to reinforce the edge of the counters.
- Next, a layer of mortar is applied (a mixture of sand, cement and lime). Once it hardens, glue is spread (thinset) to bond the tile to the mortar.
- The tile is cured overnight, and then grout is mixed and applied.
Mortarboard
Another method is to use mortarboard, or pre-made sheets of mortar, which saves time and money by eliminating the wire step and the time required for wet mortar to harden. Its use is usually discouraged on horizontal surfaces, though, because raw wood cabinets are rarely level.
Ready to start your Tile Installation?
Find ProsIt’s tricky on vertical surfaces, too, because framing and sheetrock is rarely plumb and true-to-plane, and seams in the mortarboard can cause cracks if not properly treated.
Glue (mastic)
The third and least expensive method is to mastic the tile directly to the surface. You can save a little money by gluing the tile backsplash to the wall. Even though there are fewer steps involved, tile glued directly on wood will crack as wood expands and contracts, and glue will eventually fail in moist environments.
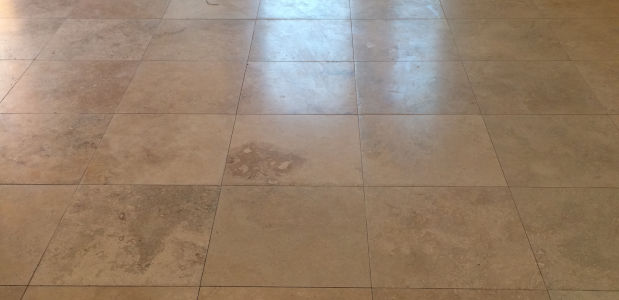
The next element to consider is the time it takes to set the tile. Designing or installing patterns, turning corners or positioning all the tiles before setting to find the best balance all require more time and often extra cuts. However, these techniques add to the overall quality, as well as the cost of the project.
Even the simplest projects can leave homeowners wondering how tile priced at $3 per square foot, for example, can cost so much more installed. That’s because prices quoted are for the flat “field” tiles. All the special trim tiles needed for edges and corners are priced individually, and it takes a lot more time to cut and fit those pieces than it does to lay rows of flat tile.
Customers trying to save money by buying tile themselves could waste money and time. Most professionals can buy materials for less than retail and extend savings to the customer. Also, tile setters will more likely place an order correctly the first time. Consumers could hold up a job waiting for a re-order because they didn’t know all the special pieces needed. Finally, because tile comes in different dye lots, it may not even be possible to find matching pieces when buying or ordering more tiles later. It usually saves everyone a lot of headaches to let the tile setter be responsible for the measuring and ordering.
 Cracked Grout: Causes, Repair & Replacement
 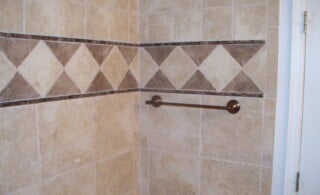 The Basics of Ceramic Wall Tile Installation
  Stunning Travertine Tile
 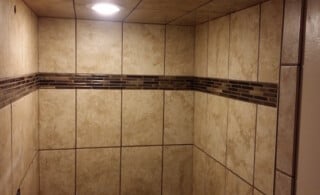 Ceramic Wall Tiles
  Mirror Doors and Tile

Are You Familiar With This Topic? Share Your Experience.